
OpenClaw AWS Setup Guide
Everything you need to set up OpenClaw on your own AWS server. Follow these steps to get your AI voice agent infrastructure running.
Multiple Ways to Run OpenClaw
There are several ways to set up and run OpenClaw depending on your needs:
- Locally on your computer — Best for testing and personal use
- Cloud server (AWS, as shown below) — Best for 24/7 availability and production use
- Other cloud providers — Google Cloud, Azure, DigitalOcean, etc.
This guide covers the AWS cloud setup option as an example.
Disclaimer
This guide is provided for informational purposes only. Waboom AI is not responsible for any data loss, revenue loss, security breaches, AWS charges, or any other damages that may result from following this guide. You are solely responsible for your server configuration, security, and any costs incurred. Always follow AWS best practices and consult official documentation.
Estimated Monthly Cost
Running OpenClaw on AWS typically costs around $60 USD/month for a t3.small instance. AWS Free Tier may cover the first 12 months for new accounts.
Why Use Your Own AWS Server?
Full Control
Complete ownership of your infrastructure and data
Scalability
Easily scale resources as your usage grows
Customization
Configure the server exactly to your needs
Cost Effective
Pay only for what you use with AWS pricing
Important Security Considerations
OpenClaw has access to system calls and can execute code. You should:
- Run OpenClaw in a dedicated, isolated environment
- Never store sensitive credentials on the same server
- Restrict SSH access to your IP address only
- Regularly update and patch your server
- Monitor server activity and set up alerts
Before You Begin
What you'll need:
- An AWS account (free tier eligible)
- A terminal application (Terminal on Mac, PowerShell/WSL on Windows)
- Basic familiarity with command line
Step-by-Step Setup
Create an AWS Account
If you don't already have an AWS account, sign up for the free tier:
Create AWS Account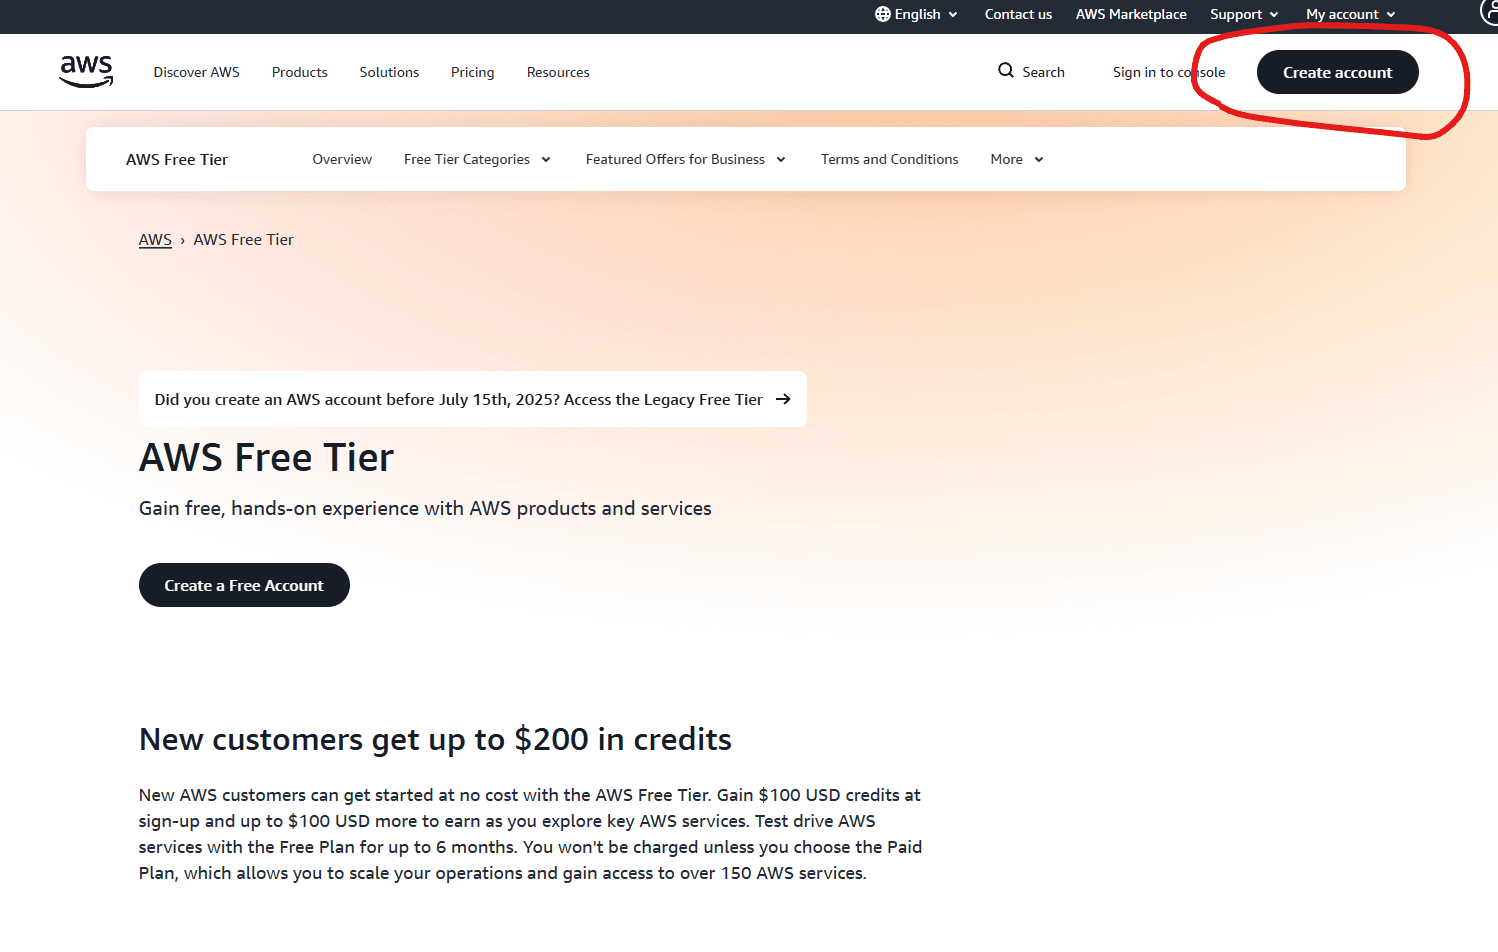
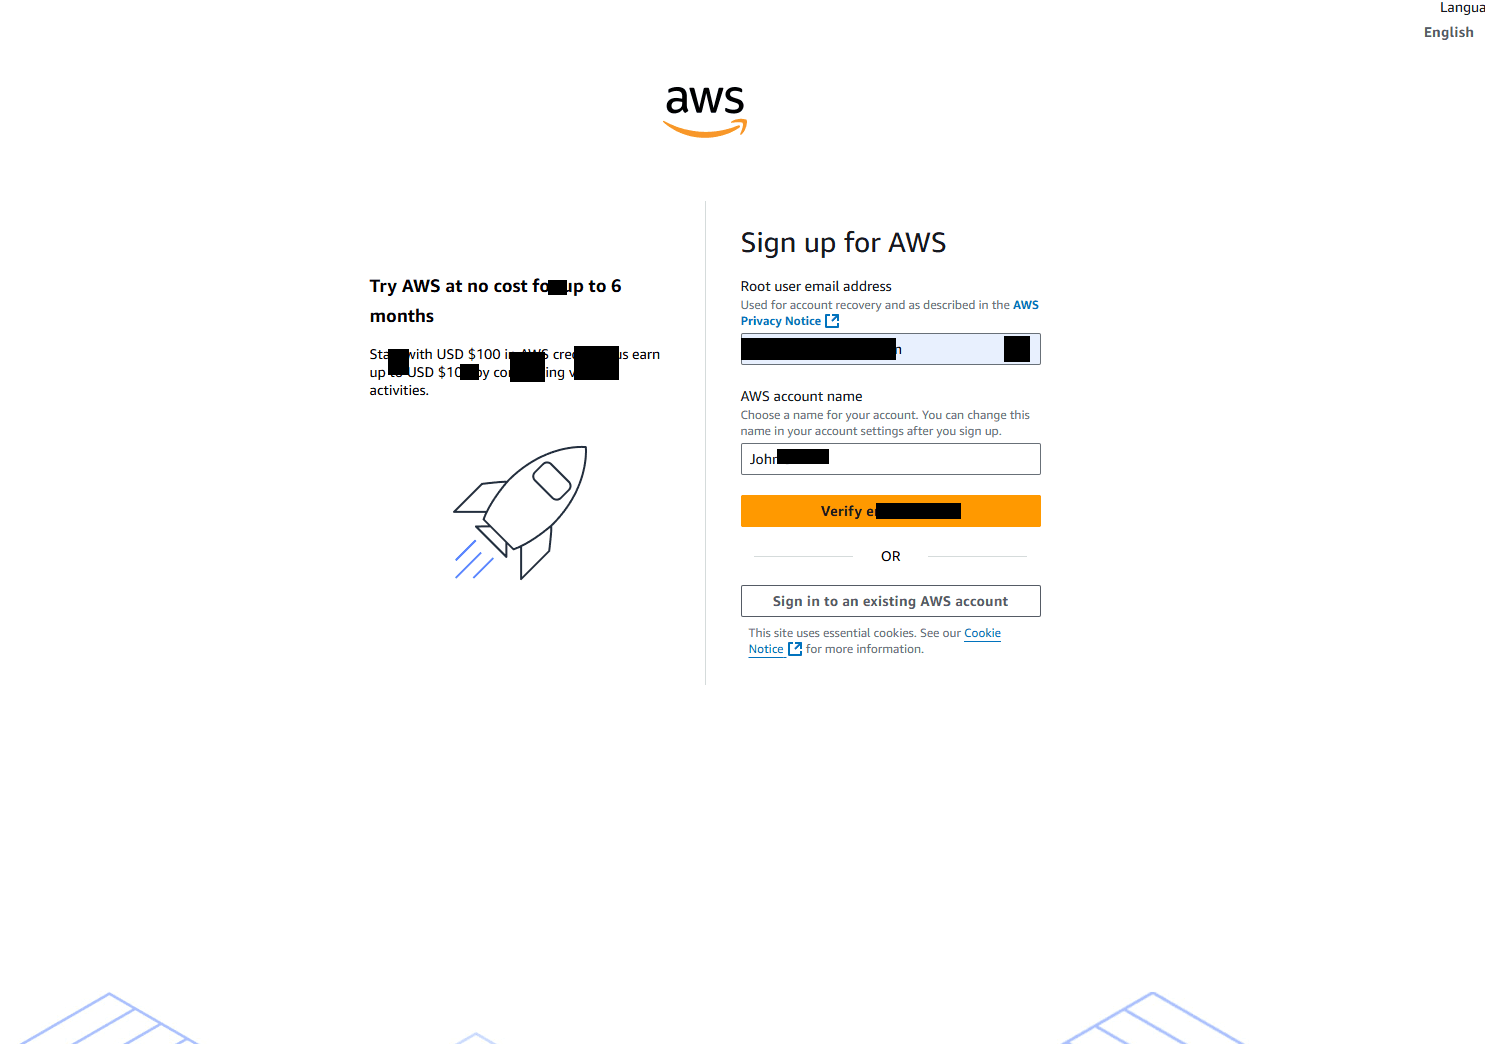
Fill in your email and choose an account name:
Choose the Paid plan for full access (you only pay for what you use):
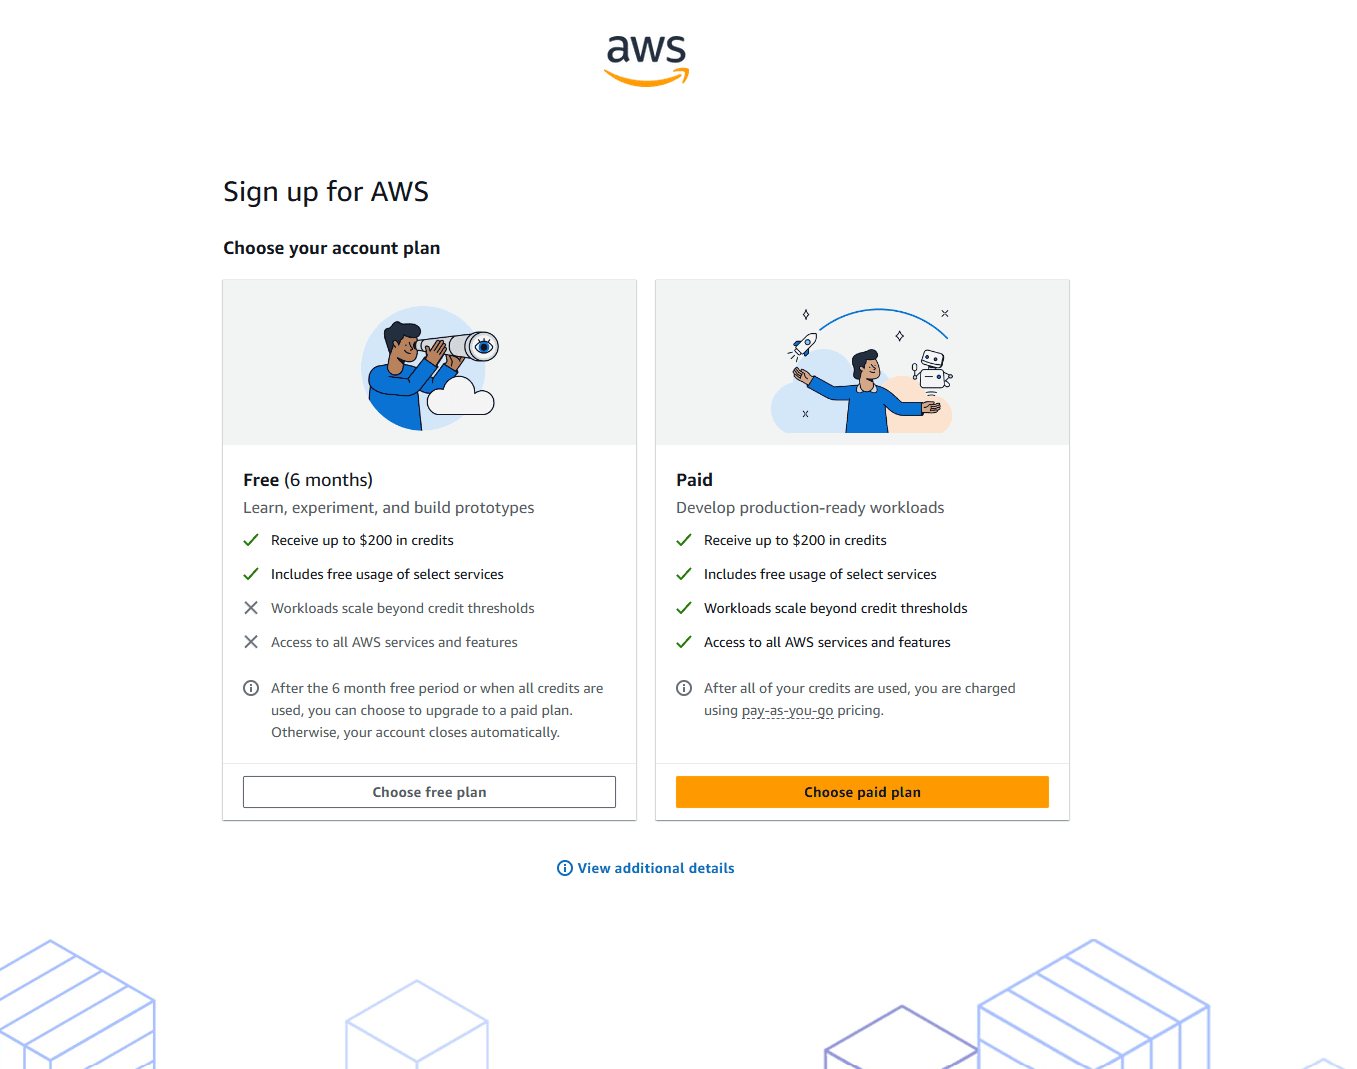
The free tier includes 750 hours/month of t2.micro or t3.micro instances for the first 12 months.
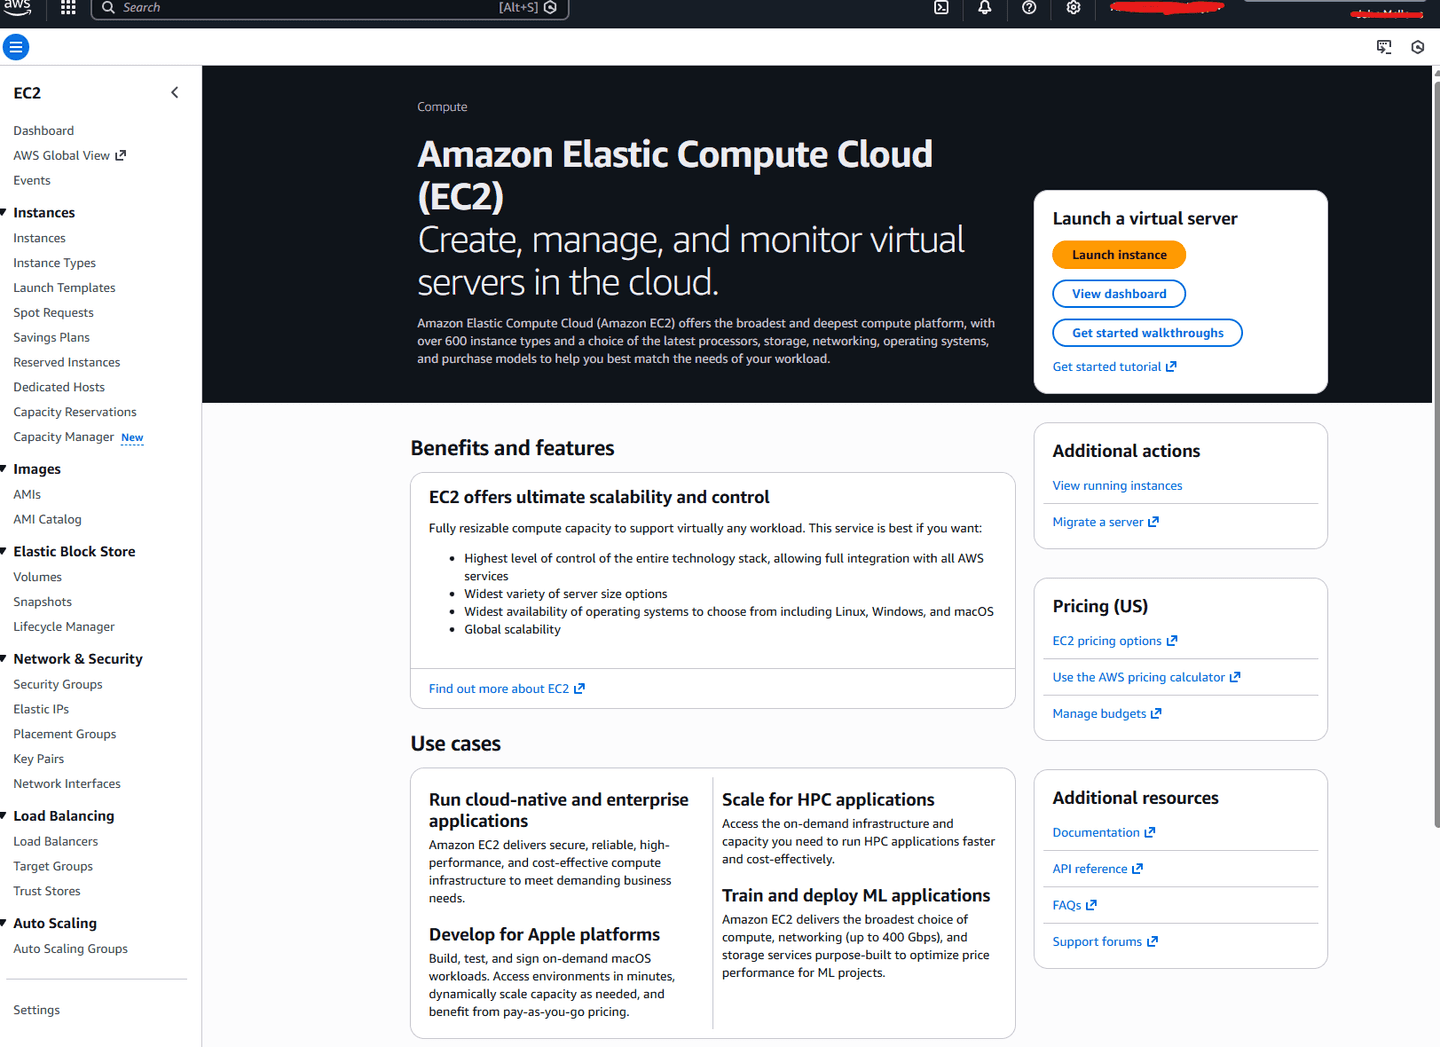
Navigate to EC2
- a.Sign in to the AWS Console
- b.In the search bar at the top, type
EC2 - c.Click on EC2 to open the EC2 Dashboard
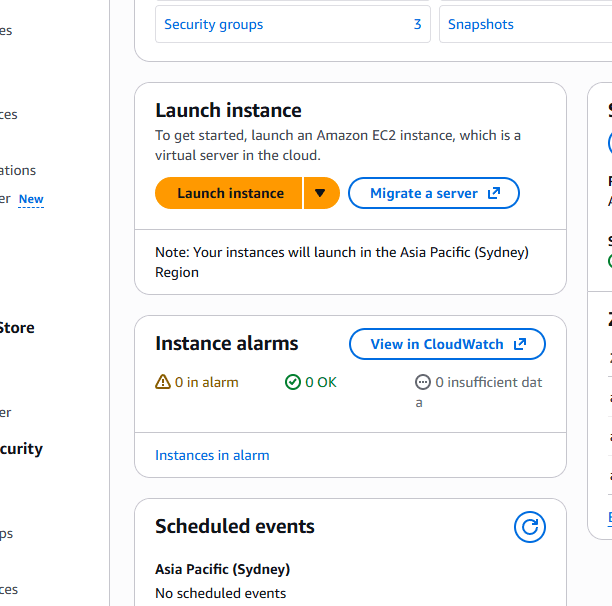
Launch a New Instance
- a.Click the orange Launch instance button
- b.Enter a name for your server (e.g.,
openclaw-server)
Select the Operating System
Under Application and OS Images:
- Select Ubuntu
- Choose Ubuntu Server 22.04 LTS (Free tier eligible)
- Architecture: 64-bit (x86)
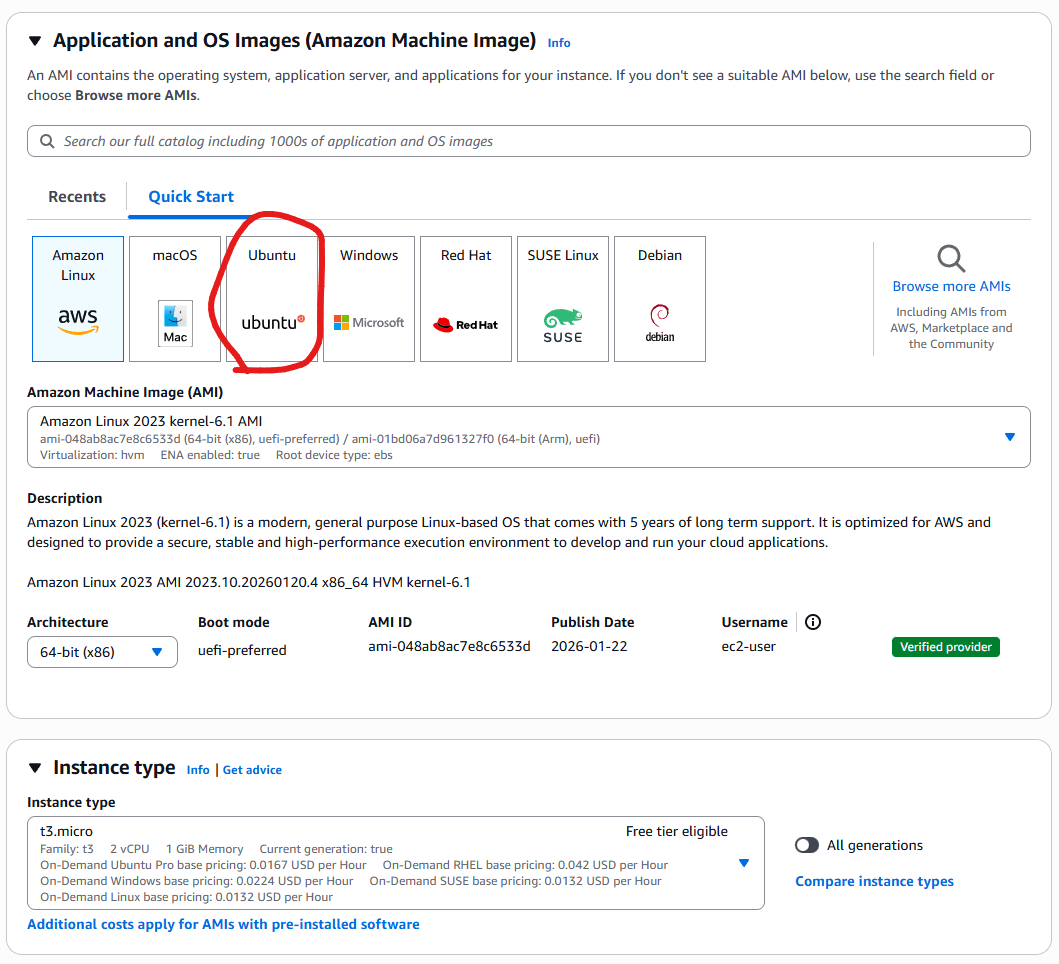
Choose Instance Type
Under Instance type:
- Select t3.small (2 vCPU, 2 GB RAM)
t3.small provides good performance for OpenClaw. You can upgrade later if needed.
Create a Key Pair
The key pair is required to securely connect to your server via SSH.
- a.Click Create new key pair
- b.Enter a name (e.g.,
openclaw-key) - c.Key pair type: ED25519 (recommended)
- d.Private key file format: .pem
- e.Click Create key pair
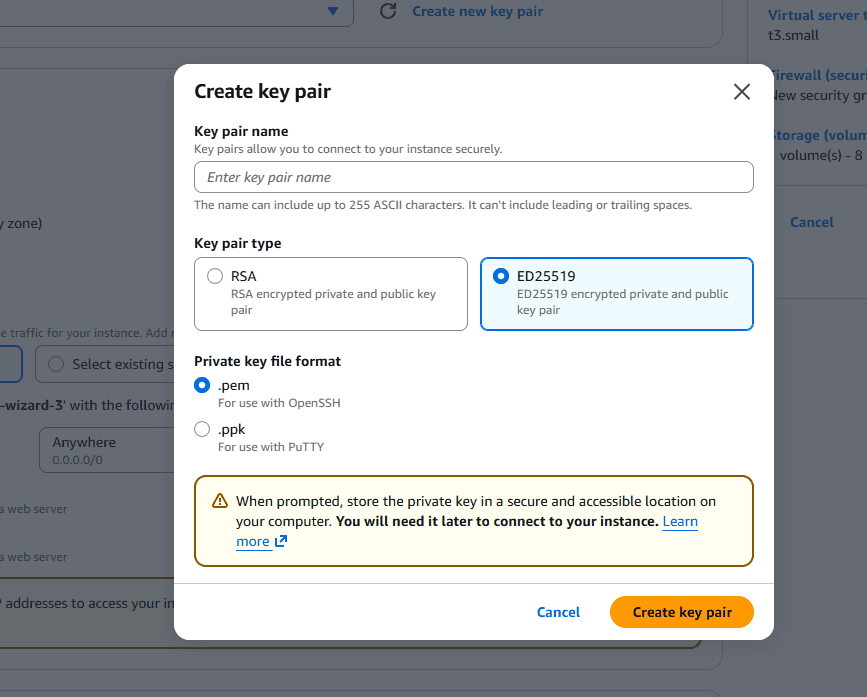
Important: The .pem file will download automatically. Save it somewhere safe - you cannot download it again!
Configure Network Settings
Security groups act as a firewall for your instance.
- a.Under Network settings, click Edit
- b.Allow SSH traffic from: Select My IP
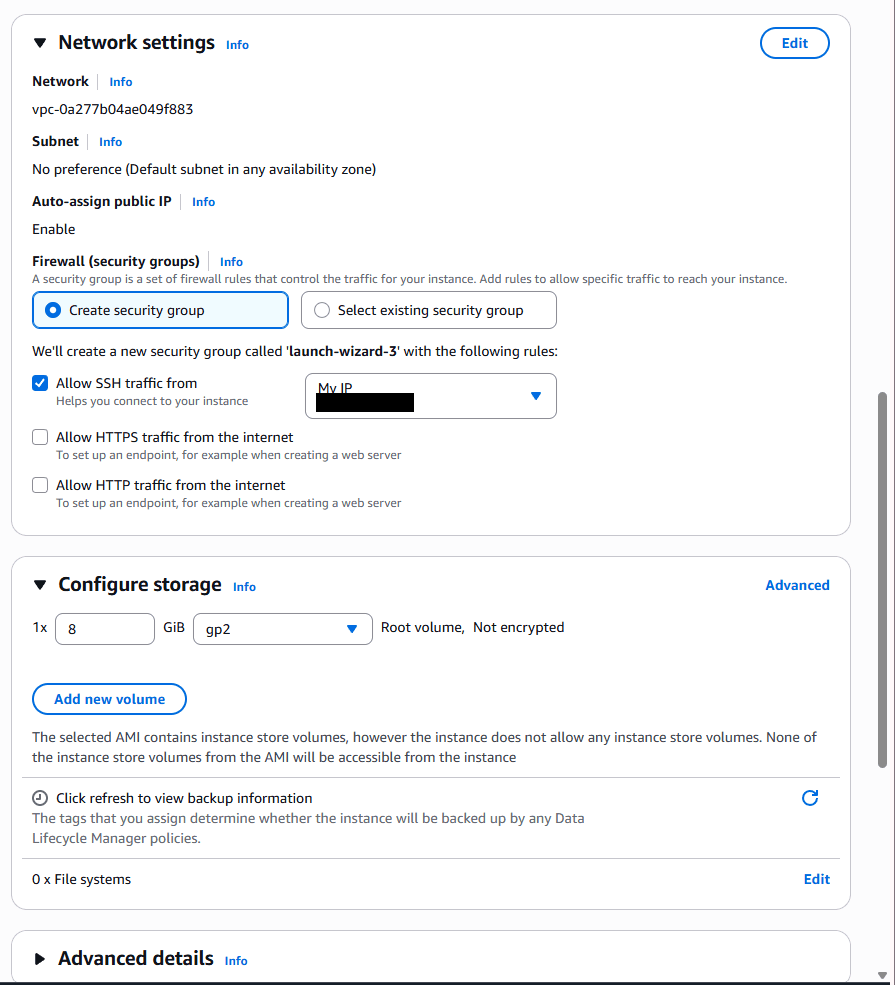
Selecting "My IP" restricts SSH access to only your current IP address, which is the most secure option.
Configure Storage
Under Configure storage:
- Set storage to 30 GB gp3
30 GB provides ample space for OpenClaw and its dependencies.
Launch the Instance
- a.Review your settings in the Summary panel on the right
- b.Click the orange Launch instance button
- c.Wait for the instance to launch (usually 1-2 minutes)
Get Your Instance's Public IP
- a.Go to Instances in the left sidebar
- b.Click on your new instance
- c.Find the Public IPv4 address - you'll need this to connect

Connect to Your Server
1. Open your terminal
- Mac: Applications > Utilities > Terminal
- Windows: Use PowerShell or WSL (Windows Subsystem for Linux)
- Linux: Open your preferred terminal
2. Navigate to your key file
cd ~/Downloads3. Set permissions on your key file
chmod 400 openclaw-key.pemThis restricts the key file to read-only access for your user only.
4. Connect via SSH
ssh -i openclaw-key.pem ubuntu@YOUR_PUBLIC_IPReplace YOUR_PUBLIC_IP with the Public IPv4 address from Step 10.
Success!
If you see ubuntu@ip-xxx-xxx-xxx-xxx:~$ you're connected to your server.
Next Steps
Now that your AWS server is set up and you can connect via SSH, you're ready to install OpenClaw.
Follow the OpenClaw installation documentation to complete the setup on your new server.
View OpenClaw DocumentationNeed Help?
If you run into any issues or have questions about setting up OpenClaw, we're here to help.
Contact Us